背景
前段时间,cranelee 在Github上给老黄提了个issues, 问到了如何用Nacos的SDK访问阿里云ACM。
https://github.com/catcherwong/nacos-sdk-csharp/issues/13
刚看到这个issues的时候,老黄也是觉得一脸懵逼,好像这两者没有什么必然联系,打开ACM的文档一看,就知道为什么了。
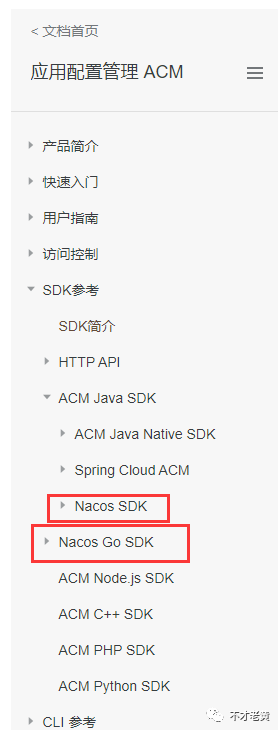
原来Java和Go的已经是可以用nacos的SDK来访问的了。那就说明两者是兼容的。
这段时间抽空看了一下,把这个功能基本实现了。
下面就简单介绍一下。
简单看看ACM
开通ACM之后,可以看到类似这样的界面。其实和Nacos控制台的配置部分差不远。
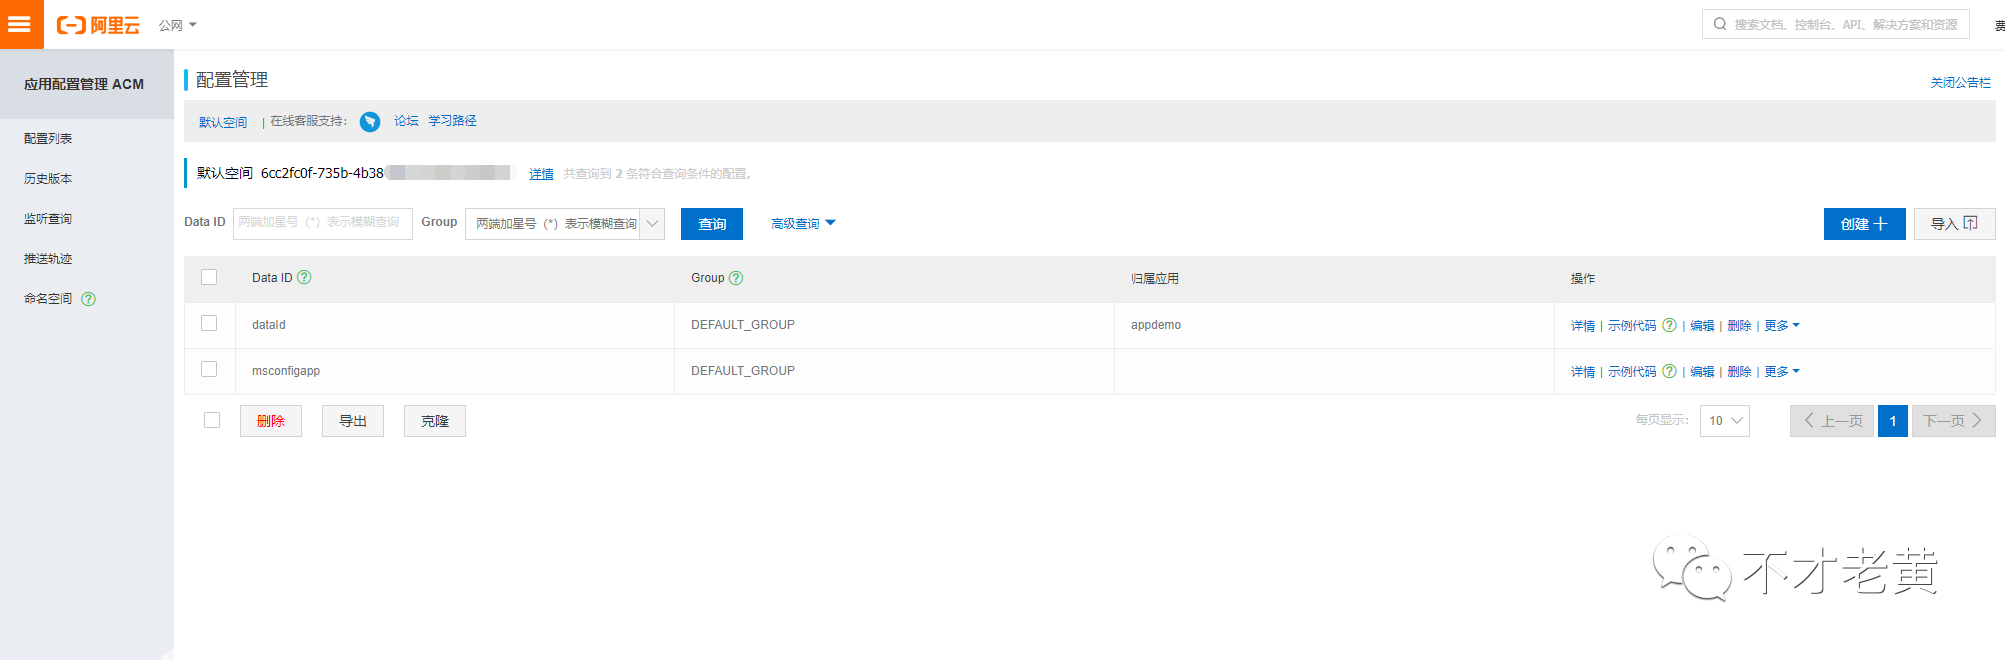
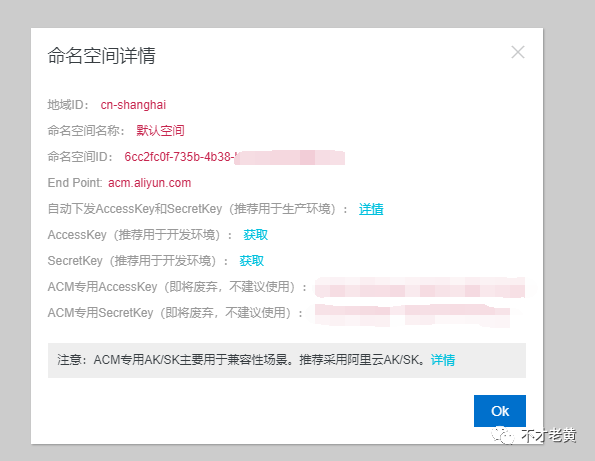
要使用这个的话,需要几个东西,一个是ACM上面的命名空间,一个是AccessKey ID,一个是AccessKey Secret。
其中的AK/SK可以在命名空间详情里面获取。
然后就是添加配置了。
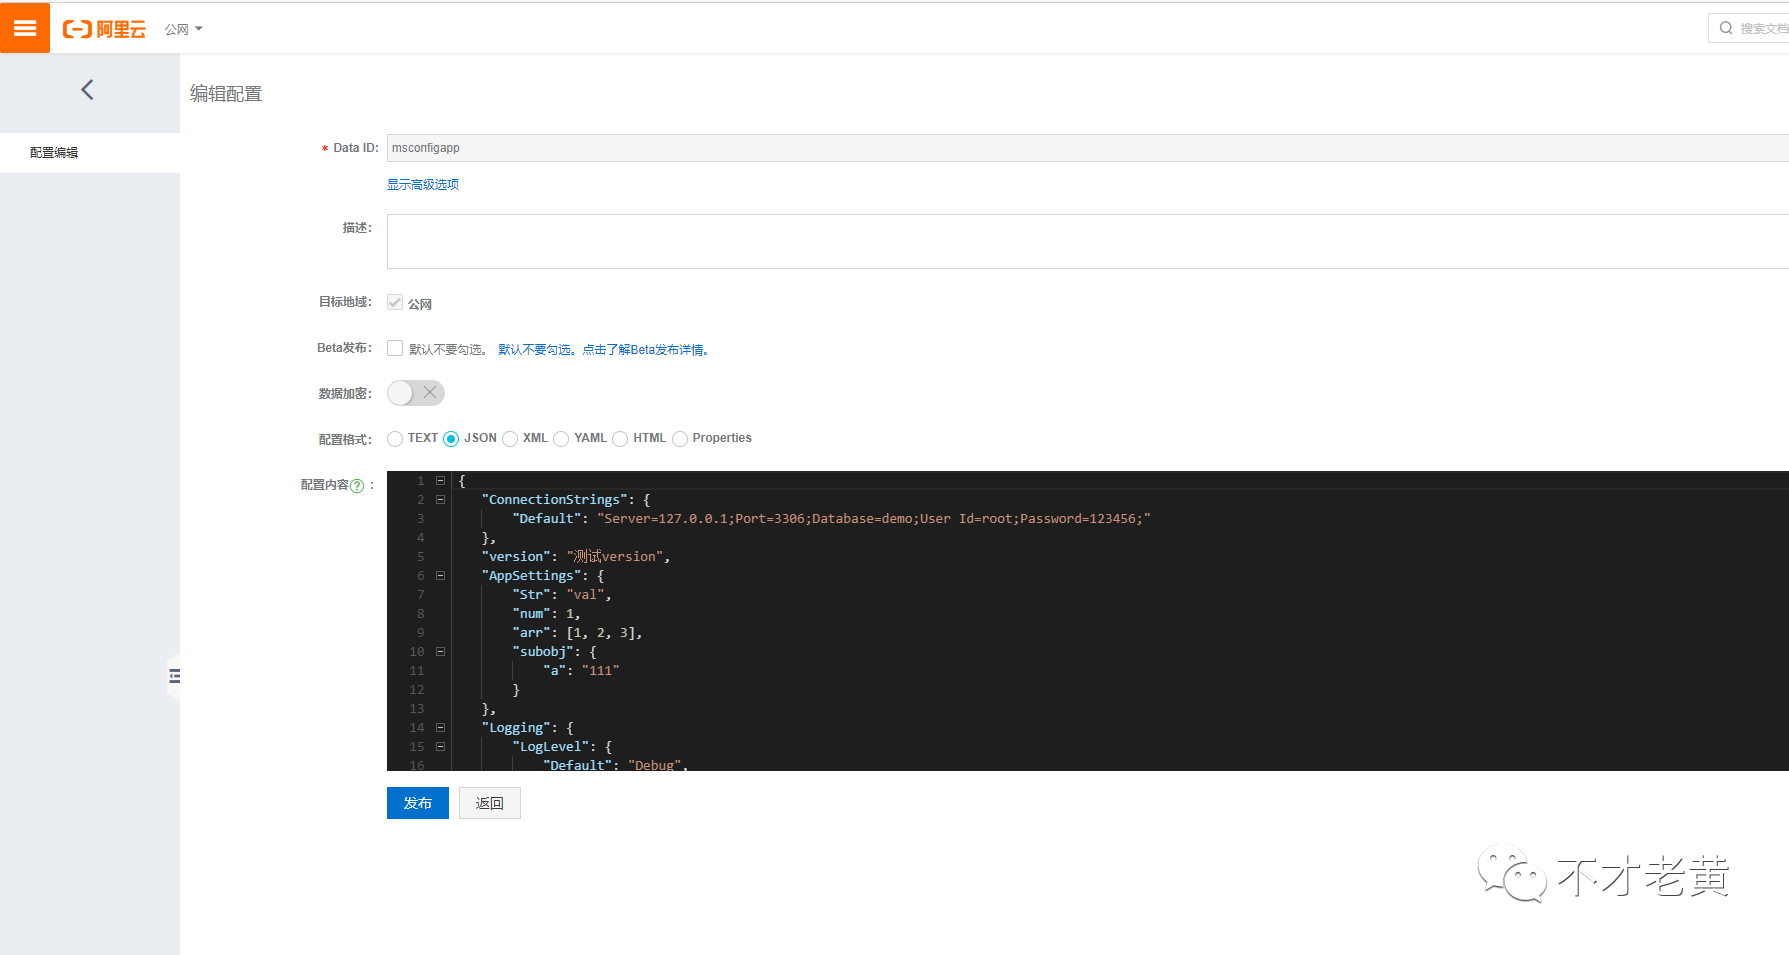
三张图,看个大概就好了,下面来具体看看在.NET Core中怎么使用。
如何使用
安装最新预览版的SDK
<ItemGroup>
    <PackageReference Include="nacos-sdk-csharp-unofficial.Extensions.Configuration" Version="0.2.7-alpha7" />
</ItemGroup>
注:目前还没有发布正式版,不过不影响正常使用了。
修改Program
public class Program
{
    public static void Main(string[] args)
    {
        // 处理编码问题
        System.Text.Encoding.RegisterProvider(System.Text.CodePagesEncodingProvider.Instance);

        CreateHostBuilder(args).Build().Run();
    }

    public static IHostBuilder CreateHostBuilder(string[] args) =>
        Host.CreateDefaultBuilder(args)
            .ConfigureAppConfiguration((context, builder) =>
            {
                // 这两行代码就是关键
                var c = builder.Build();
                builder.AddNacosConfiguration(c.GetSection("NacosConfig"));
            })
            .ConfigureWebHostDefaults(webBuilder =>
            {
                webBuilder.UseStartup<Startup>();
            });
}
调整appsettings.json
{
  "NacosConfig": {
    "Optional": false,
    "DataId": "msconfigapp",
    "Group": "",
    "Tenant": "<换成您的命名空间>",
    "ServerAddresses": [],
    "AccessKey": "<换成您的AK>",
    "SecretKey": "<换成您的SK>",
    "EndPoint": "acm.aliyun.com"
  }
}
注: 由于老黄开通个人开通的,没有内网服务器,所以用的是公网的EndPoint,这个需要根据情况自行调整。
实体映射(非必须)
public class AppSettings
{
    public string Str { get; set; }

    public int Num { get; set; }

    public List<int> Arr { get; set; }

    public SubObj SubObj { get; set; }
}

public class SubObj
{
    public string a { get; set; }
}
为了方便和配置一一对应,可以建立实体,做一个映射。
加了这个的,需要在Startup上面配置一下。
public void ConfigureServices(IServiceCollection services)
{
    // others ...

    services.Configure<AppSettings>(Configuration.GetSection("AppSettings"));
}
读取配置
这里用控制器做为示例
[ApiController]
[Route("api/[controller]")]
public class ConfigController : ControllerBase
{
    private readonly ILogger<ConfigController> _logger;
    private readonly IConfiguration _configuration;
    private readonly AppSettings _settings;
    private readonly AppSettings _sSettings;
    private readonly AppSettings _mSettings;

    public ConfigController(
        ILogger<ConfigController> logger,
        IConfiguration configuration,
        IOptions<AppSettings> options,
        IOptionsSnapshot<AppSettings> sOptions,
        IOptionsMonitor<AppSettings> _mOptions
        )
    {
        _logger = logger;
        _configuration = configuration;
        _settings = options.Value;
        _sSettings = sOptions.Value;
        _mSettings = _mOptions.CurrentValue;
    }

    [HttpGet]
    public string Get()
    {
        string id = Guid.NewGuid().ToString("N");

        _logger.LogInformation($"============== begin {id} =====================");

        var conn = _configuration.GetConnectionString("Default");
        _logger.LogInformation($"{id} conn = {conn}");

        var version = _configuration["version"];
        _logger.LogInformation($"{id} version = {version}");

        var str1 = Newtonsoft.Json.JsonConvert.SerializeObject(_settings);
        _logger.LogInformation($"{id} IOptions = {str1}");

        var str2 = Newtonsoft.Json.JsonConvert.SerializeObject(_sSettings);
        _logger.LogInformation($"{id} IOptionsSnapshot = {str2}");

        var str3 = Newtonsoft.Json.JsonConvert.SerializeObject(_mSettings);
        _logger.LogInformation($"{id} IOptionsMonitor = {str3}");

        _logger.LogInformation($"===============================================");
        _logger.LogInformation($"===============================================");
        _logger.LogInformation($"===============================================");

        return "ok";
    }
}
附上一张操作动图
在ACM上修改之后,程序是可以马上读取到的。
下面是本文的示例代码。
https://github.com/catcherwong-archive/2020/tree/master/06/NacosACMDemo
小结
Nacos和ACM的操作基本都是一致的,比较不一样的地方是,从直连Nacos变成要先去地址服务拿到Nacos的地址后再操作。